
Introduction
Keeping a commercial freezer clean is essential for hygiene, efficiency, and extending its service life. A neglected freezer not only risks contamination but also consumes more energy and may even break down sooner. To maintain top performance, experts recommend cleaning your freezer at least once a month—or whenever inventory levels are low.
Here’s a detailed step-by-step guide to ensure your unit remains spotless, efficient, and safe for food storage.
Preparation Before Cleaning
Safety First
Always turn off and unplug the freezer before cleaning. If the model has an ice storage bin, remove it carefully.

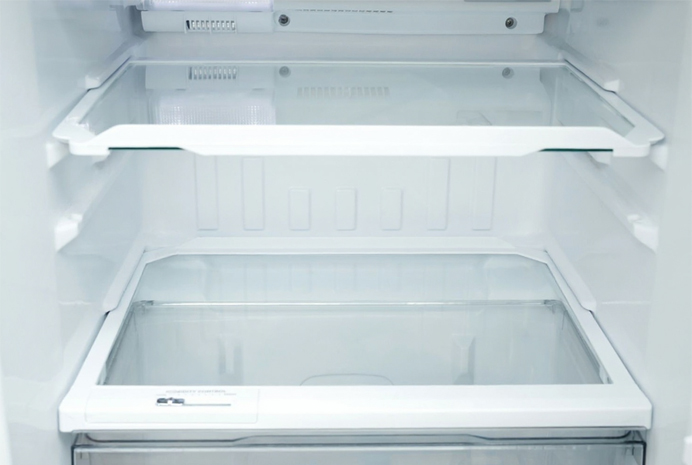
Empty the Freezer
Transfer all frozen goods to another freezer or a well-insulated cooler for temporary storage. This prevents thawing while you clean.
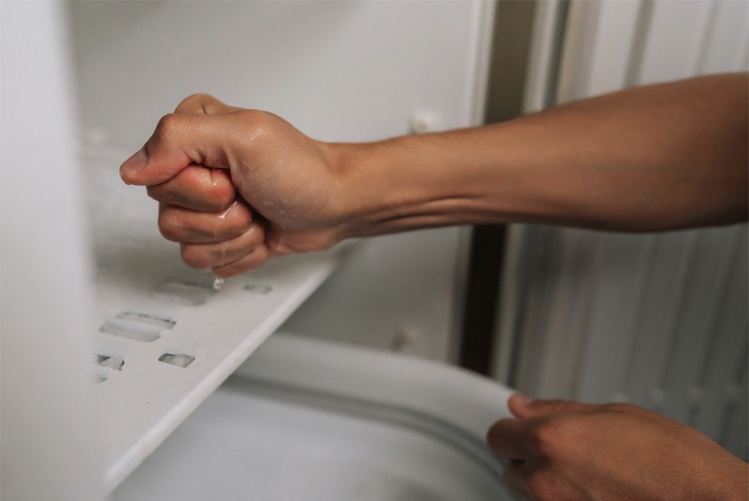
Natural Defrosting
For manual-defrost (direct cool) freezers, unplug the unit and leave the door open to let frost melt naturally. Avoid using sharp objects or a heat gun to break ice, as this may puncture the liner or damage cooling pipes. Place towels inside to soak up water and use a pan at the bottom to collect runoff.
Gather Your Supplies
You will need:
· A neutral pH cleaner
· Warm water
· Soft cloths and sponges
· A long-handled brush (for the drain hole)
· Dry towels

 Tip: Preparing all supplies in advance saves time and helps you avoid leaving the freezer door open for too long.
Cleaning Steps
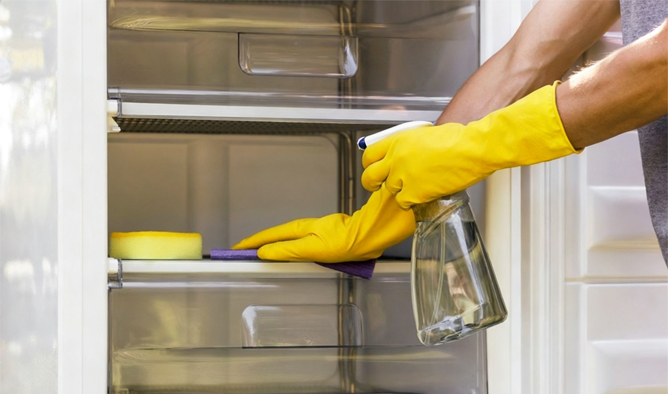
Interior Cleaning
Once all ice has melted, use a soft cloth or sponge soaked in warm water and neutral cleaner to wipe down the walls, shelves, drawers, and door gasket.
· For stubborn stains, let the cleaning solution sit for a few minutes before wiping.
· Avoid harsh chemicals, abrasive pads, or steel wool that can scratch the surface.
· Pay close attention to the folds of the door gasket, as these areas often trap dirt, moisture, and mold.
Cleaning the Drain Hole
Locate the drain hole at the bottom of the freezer. This is critical for proper drainage but often overlooked. Flush it with warm water and use a thin stick or long-handled brush to clear any food debris, ensuring smooth water flow.

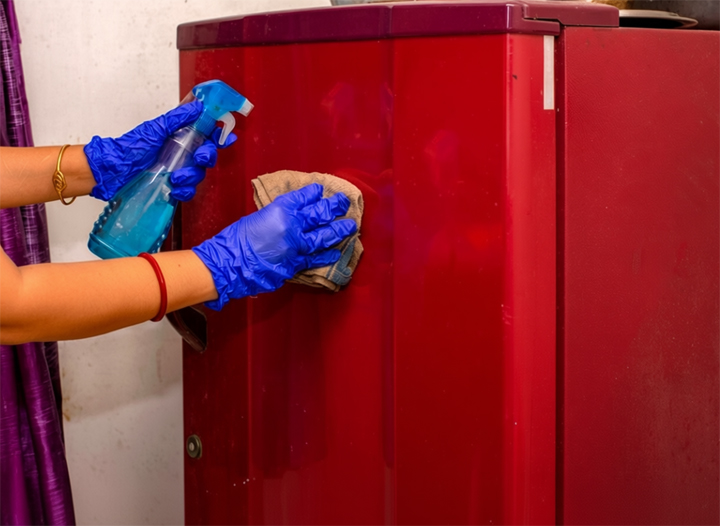
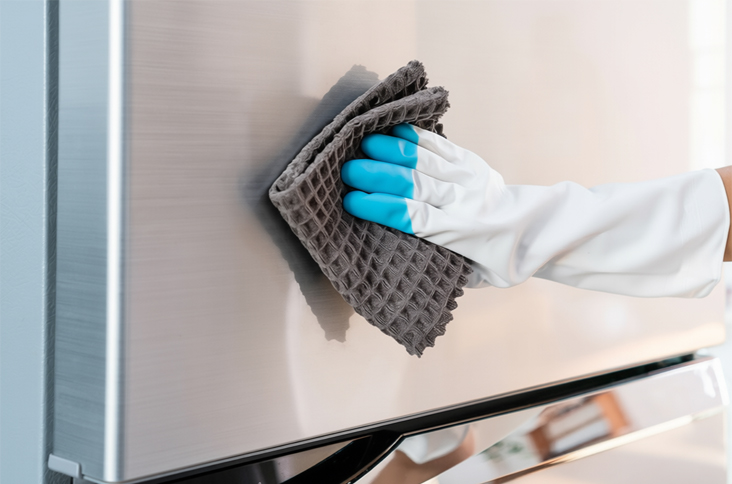
Exterior Cleaning
· Wipe down doors, handles, and control panels with a damp cloth.
· For stainless steel surfaces, apply a stainless steel cleaner to maintain shine and reduce fingerprints.
· Use a vacuum or soft brush to clean the condenser coils (at the back or bottom). This step improves cooling efficiency and lowers energy consumption.
 Tip: Cleaning condenser coils every three months can significantly cut electricity costs and extend the freezer’s lifespan.
Rinsing and Drying
After cleaning, wipe all surfaces with a damp cloth using plain water to remove any cleaner residue. Finish by thoroughly drying the freezer with clean towels—any leftover moisture will quickly freeze once the unit is restarted.
Final Steps
1. Restore Power: After ensuring the interior is dry and all parts are back in place, plug the freezer back in.
2. Pre-Cool: Let the empty unit run until it reaches the set temperature (usually -18°C or below) before placing food back inside.
Conclusion
Regular and thorough cleaning is the key to keeping your commercial freezer safe, efficient, and long-lasting. By following these steps—preparation, careful interior and exterior cleaning, and proper restart—you’ll maintain a hygienic environment for food storage and prevent unnecessary breakdowns.
A well-maintained freezer isn’t just about food safety; it’s also an investment in energy efficiency and operational reliability.